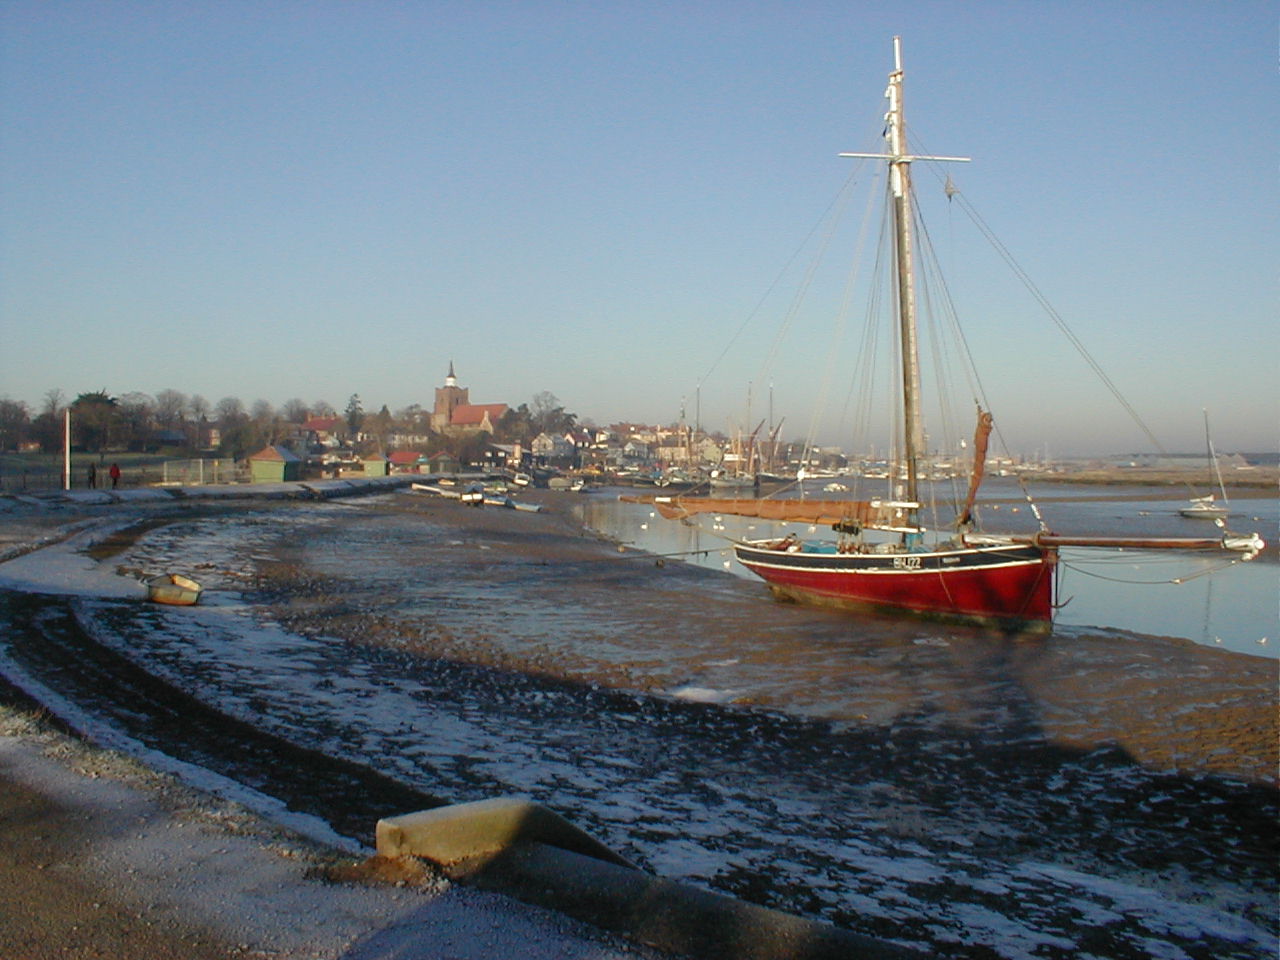


| I started with this image. |
I wanted it to look more sunny as when the picture was taken it didn't look quite so drab. Adjusting the gamma a little (1.40 linked) gave a nice result. |
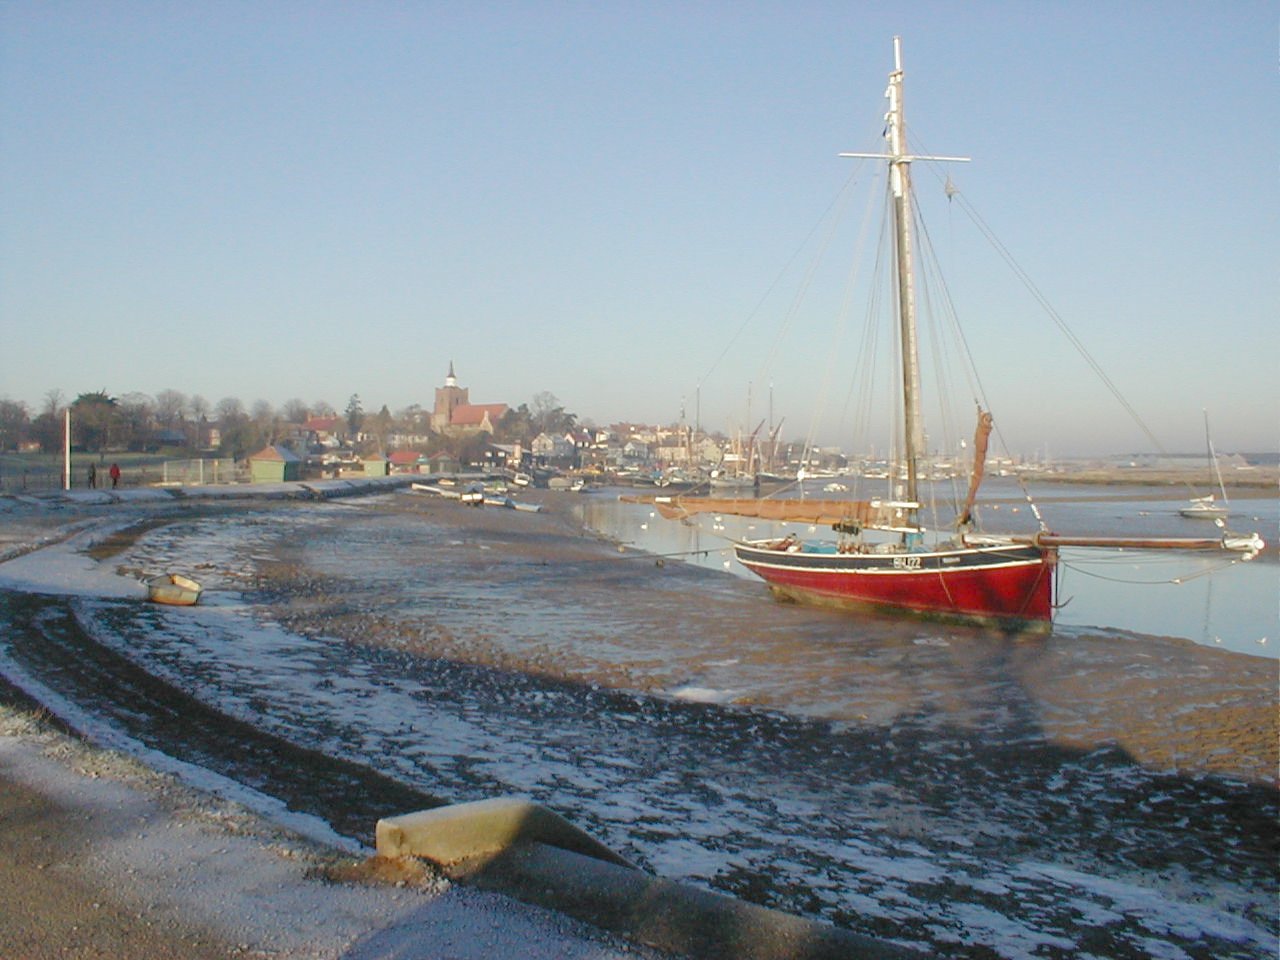
| I started with this image. |
I needed to change the colour to use on other web pages, so I used colourise. |
|
|
|
|
I started with this image.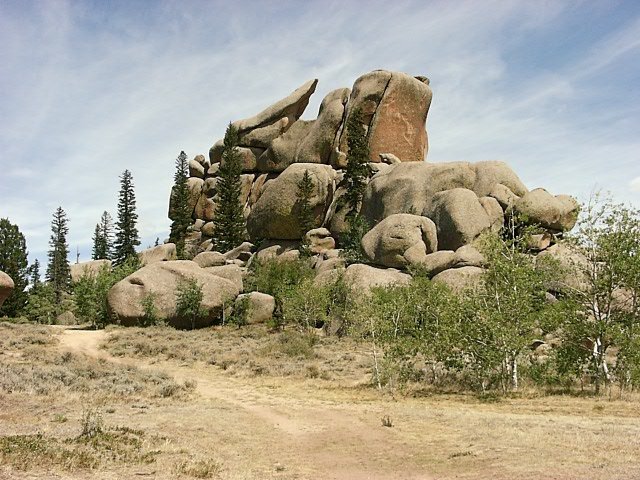 |
And this image. |
Somehow, with April's help, I ended up with this! |
|
| The original psp file is linked here. I'm not exactly sure of the settings i used on the effects, but I will tell you basically how I did it. Firstly I created the mask on the rocky image, and used an oval shape on the mask with a partial fill to create the selection. I adjusted the gamma of themsunset image slightly as it looked too glary. I copied my selection and pasted it over my sunset image onto a new layer. I decided the edges were too defined on the oval so i inverted the selection and modified it by expanding it into the image (I hope that makes sense). I applied a gaussian blur to this. I added the text, using an inner bevel and drop shadow. |
|