| My two original images can be seen here (links as they are large file sizes, you have been warned!) Original cartoon gif Original jpg of flowers in my garden |
Firstly I resized the GIF to 50% of height and width using pixel resize so as not to have any antialiasing making the merge look odd. This produced a picture something like this  |
I then created a new raster layer on the flowers photo using the Layer Palette. Then switching back to my cartoon, i made sure my background colour was white, then copied the whole image, pasting onto the new layer in the flowers image, as a transparent selection. Looking at the way his feet were angled I used Mirror on the Image menu to mirror him, and dragged him, so it looked like he was walking up the branch. This produced an image something like this. 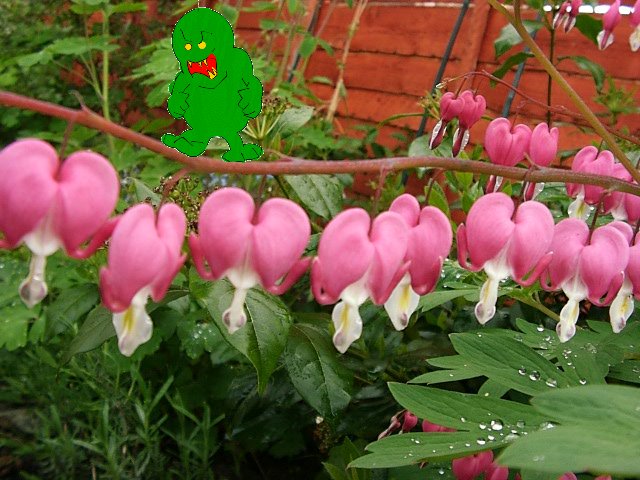
|
I decided that he looked a bit rough around the edges, so I used the Retouch tool around his edges to blend him in a little. Settings were round, soften, width 15, opacity 25, density 25, hardness 25, step 1. I then used the magic wand to select everything but the alien, then inverted the selection. I used the CTRL key with the free hand selector to select his body, leaving only his feet selected. I used the Effects menu to give him a drop shadow to incorporate him into the image a bit more, the settings were Horizontal 0, Vertical 5, Opacity 80, Blue 10, Colour Black. Saving as a jpg merges all layers and gives my final 'Aliens in the Garden' merged image. 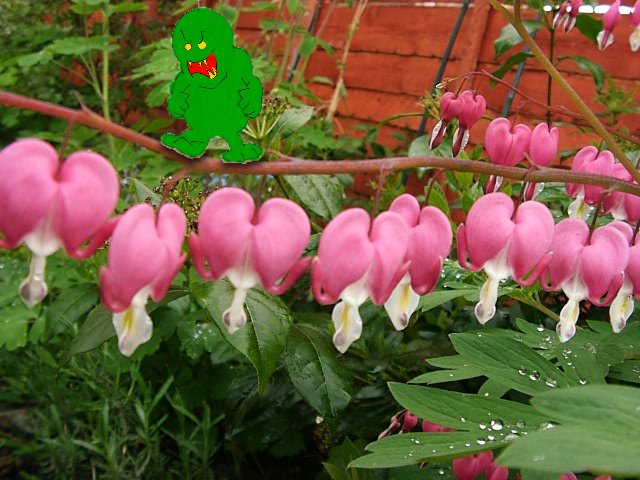 |
| Over all I wish my images would look more "professional" but I'm not sure how to obtain that look. |
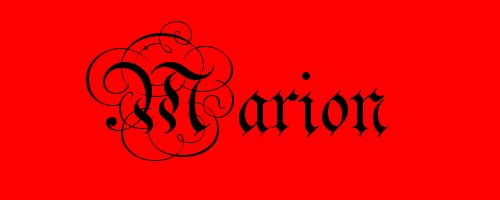
Text Effects |
| New image White background 500 x 200. Using the text tool: Arial, 72pt, White fill, Floating, antialias. Despite how this looks, it's not created using the metalic inner bevel. While the text is still selected, make sure background and foreground colours are white. Use Hot Wax coating. Modify the selection using a feather of 5pt, then repeat the hot wax coating. Finally adjust the brightness +20 and contrast -20 to tone it down slightly. Finally crop to size. Your very own metalic text effect! | 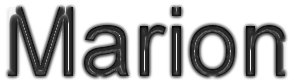 |
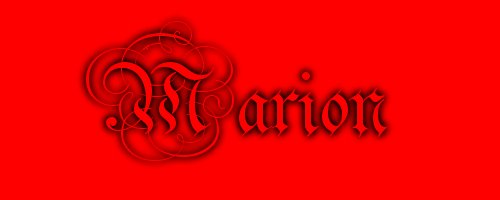
| New image White background 500 x 200. Using the text tool: Arial Rounded, 72pt, White fill, Floating, antialias. Add noise Random 50%. Deselect text, use the magic wand to select the white background, invert this selection so that just the speckles are selected. Apply a chisel effect size 13 with a background colour of white to this and it looks like some kind of wierd stamp you'd use to stamp your name on a letter. Crop to size. | 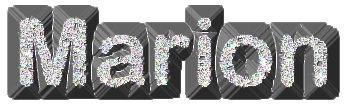 |